
A gym TV network setup is the process of installing, wiring, and configuring commercial displays, media players, and a content management system to deliver coordinated fitness content across your facility. Done correctly, the gym tv network setup steps transform blank walls into a member engagement tool that drives class attendance, promotes services, and keeps your floor energy high. This guide covers every phase: screen selection, mounting, cabling, media player configuration, network design, and launch troubleshooting. You will need commercial-grade TVs, Cat6 Ethernet cable, a cloud-based CMS like Kingdomsignage, and a clear floor plan before you start.
What are the gym TV network setup steps?
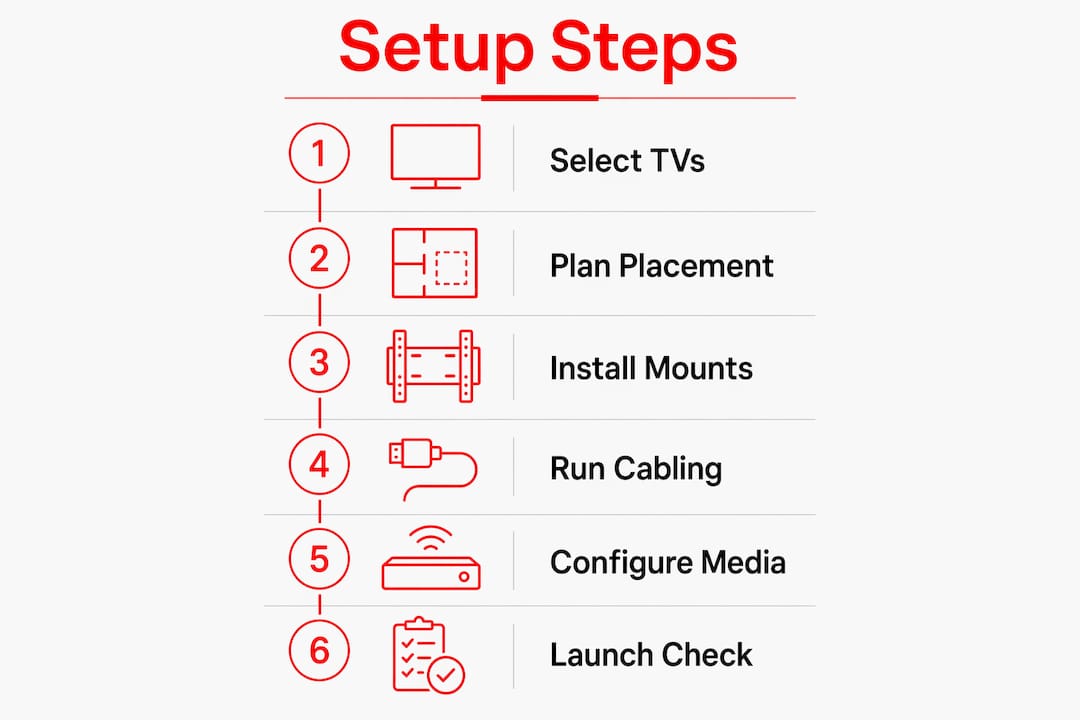
The gym TV network setup process follows six sequential phases: display selection, placement planning, mount and cable installation, media player configuration, network setup, and content launch. Skipping or rushing any phase creates problems that are expensive to fix after walls are closed and mounts are bolted. Gym operators who pre-plan hardware and site locations can complete a full installation within a single business day. That speed is only possible when every decision is made before a single drill touches the wall.
The core goal is not just showing content. It is delivering the right content to the right zone at the right time, whether that is a class schedule in the lobby, motivational video on the weight floor, or instructor cues in a spin studio. Kingdomsignage unifies all of that control through one dashboard, which means your front desk staff can update every screen in the building without touching a single device.
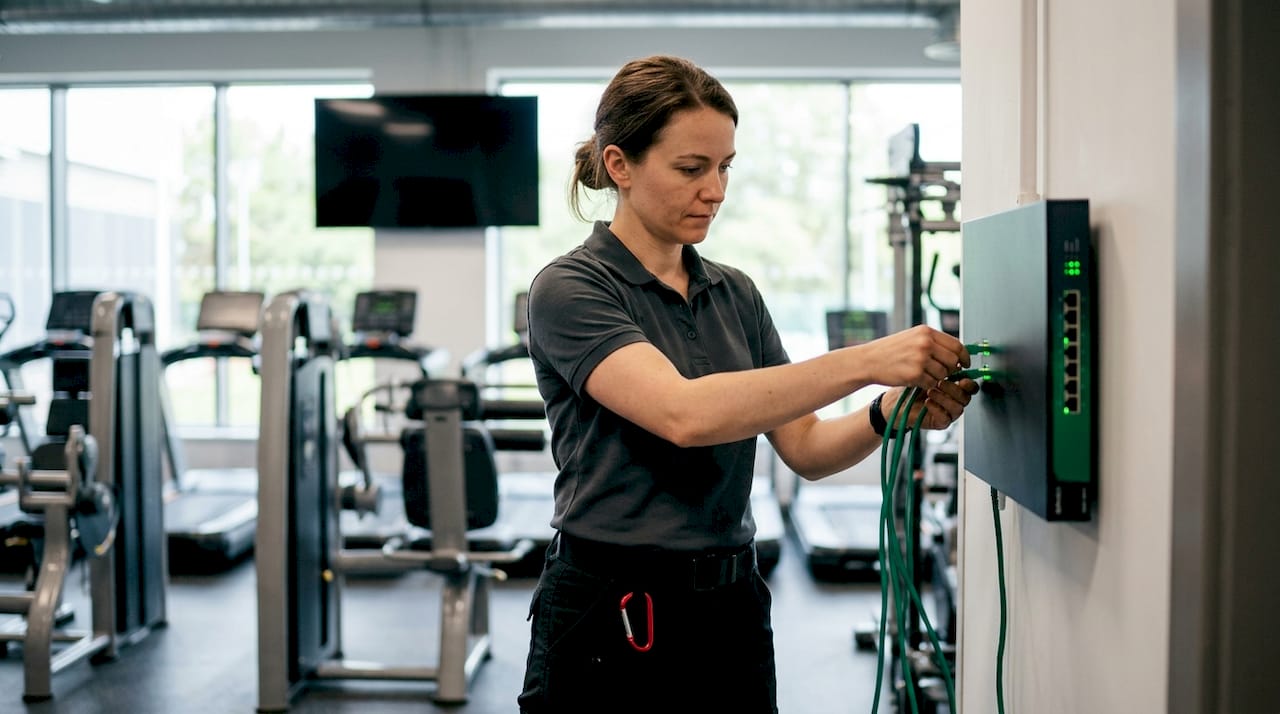
How to select and position the right TVs for gym environments
Commercial-grade displays are the non-negotiable starting point for any fitness center TV setup. Consumer TVs are rated for only 4 to 6 hours of daily use, which means running them 12 to 18 hours a day in a gym will cause premature failure within months. Commercial displays are built for 24/7 operation, with reinforced panels, better heat dissipation, and remote management ports that consumer sets simply do not include.
Brightness is the second critical spec. Gyms use high-output lighting to keep members alert, and a dim screen disappears against that backdrop. Displays rated at 500 to 700 nits maintain clear visibility under bright overhead fixtures. Anything below 400 nits will look washed out during peak hours.
| Feature | Consumer TV | Commercial display |
|---|---|---|
| Daily use rating | 4 to 6 hours | 24/7 continuous |
| Brightness | 250 to 400 nits | 500 to 700+ nits |
| Remote management | None | Built-in via RS-232 or LAN |
| Warranty type | Residential | Commercial (parts and labor) |
| Heat tolerance | Low | High |
Placement planning follows hardware selection. Position screens so they are visible from at least two workout zones without requiring members to stop moving to read them. Cardio rows benefit from screens mounted at eye level when standing, roughly 60 to 66 inches from floor to center. Group fitness rooms need screens at the front wall and, in larger studios, a secondary screen at the rear. Avoid mounting directly above free weight areas where a falling mount creates a safety hazard.
Pro Tip: Mark your planned mount locations on a printed floor plan before ordering hardware. Measure the sightlines from the farthest piece of equipment in each zone to confirm the screen size is large enough to read at that distance. A 55-inch display becomes hard to read beyond 18 feet.
For more on multi-room display planning, Kingdomsignage has a dedicated manager's guide that covers zone-by-zone sizing recommendations.
How should you install mounts and run cabling?
Mount selection depends on wall material and display weight. Concrete and cinder block walls require masonry anchors rated for at least twice the display weight. Drywall over metal stud requires toggle bolts or direct stud attachment. Tilt mounts work well for high placements, while flat mounts suit eye-level installations. Every mount should carry a VESA rating that matches your display's mounting pattern.
Cable planning is where most first-time installers underestimate scope. Follow this sequence:
- Measure the physical distance from each display location to the nearest network switch or patch panel.
- Add the vertical drop from the ceiling to the mount height at each end.
- Sum all segments, then add a 10% buffer to account for routing around obstacles and future adjustments.
- Add approximately 3 feet of slack at each termination point for clean connections and future re-termination.
- Run power and data cables in separate conduit to prevent electrical interference on the signal line.
- Label every cable at both ends before closing walls or ceiling tiles.
Power outlet placement is often overlooked. Each display needs a dedicated outlet within 6 feet of the mount. If you are installing smaller displays in cardio equipment rows, Power over Ethernet (PoE) injectors can eliminate the need for a separate power run, simplifying the install considerably.
Pro Tip: Take photos of every cable run before closing walls. Store them in a shared folder with your floor plan. When a screen goes dark six months from now, you will know exactly where every cable runs without opening a single wall.
Documentation is not optional. Label every cable, every port on your switch, and every display with a consistent naming convention such as "GYM-CARDIO-01" or "GYM-SPIN-02." This makes remote troubleshooting and future expansion far faster.
How do you configure media players and choose a CMS?
Media players are the devices that pull content from your CMS and push it to the screen. Three types are common in gym display installation projects:
- External players such as BrightSign or dedicated Android boxes connect via HDMI and offer the most processing power for complex content.
- System-on-chip (SoC) commercial TVs have a media player built into the panel, eliminating one device and one HDMI cable per screen. Samsung SSSP and LG webOS commercial displays are the most widely deployed SoC options.
- Streaming sticks like Amazon Fire TV Stick or Chromecast work in low-budget setups but lack the remote management and reliability features that a gym environment demands.
For most gym operators, SoC commercial TVs offer the best balance of cost and manageability. You reduce hardware count, simplify cabling, and gain a single point of control per screen.
Choosing the right CMS is equally critical. A cloud-based CMS lets you manage 50 screens across 10 locations from a single laptop. That scalability matters even for single-location gyms that plan to expand. Evaluate CMS platforms on these criteria:
| Criterion | What to look for |
|---|---|
| Scheduling | Day-parting, recurring playlists, zone-specific content |
| Remote management | Reboot, screenshot, and status monitoring per device |
| Integrations | Class schedule feeds, social media, weather widgets |
| Scalability | Flat pricing per screen or tiered plans |
| Support | Live support during business hours, not just email tickets |
Kingdomsignage meets all five criteria and adds audio sync across rooms, which is a capability most generic digital signage platforms do not include. For gym operators running instructor-led classes, that audio-visual sync is the difference between a polished experience and a chaotic one. You can see how gym screens support class enrollment when content is properly scheduled and synced.
What network setup keeps gym displays stable?
Network reliability is the single most common failure point in gym TV installations. Shared gym Wi-Fi is the leading cause of black screen errors, because member devices compete for bandwidth during peak hours and the display loses its connection. Hardwired Cat6 Ethernet to each display is the correct solution.
Hardwired Ethernet connections provide dedicated bandwidth and stable streaming for gym digital signage. Wireless connections frequently cause playback errors that are difficult to diagnose and frustrating for members to see.
Design your display network as a separate VLAN from your member Wi-Fi. This prevents member traffic from affecting display performance and adds a layer of security. A basic setup uses a managed switch at the equipment room, with Cat6 runs to each display location. For facilities with more than 20 screens, use a second switch in a central location to reduce cable run lengths.
For facilities already wired with coaxial cable, RF distribution remains a viable option. Thor Broadcast experts recommend retaining existing RF infrastructure rather than replacing it with IPTV, because the added complexity of IPTV rarely justifies the cost in a single-facility gym. If you do use RF or satellite boxes, disable auto resolution on each set-top box to prevent signal interruptions caused by resolution switching.
Common connectivity issues and their fixes:
- Black screen at startup: Check HDMI input selection and confirm the media player has completed its boot sequence.
- Intermittent dropouts: Replace Wi-Fi with a wired connection or check for IP address conflicts on the network.
- Frozen content: Confirm the CMS player app has auto-restart enabled and that the device has adequate storage free.
- No network connection: Verify the switch port is active and the cable is seated fully at both ends.
Step-by-step summary and launch checklist
A clean launch comes down to completing every phase in order and verifying each one before moving to the next. Here is the full sequence:
- Finalize display locations on a floor plan and confirm sightlines from all workout zones.
- Order commercial-grade displays rated for 24/7 use with brightness of 500 nits or higher.
- Install mounts on verified structural anchor points and confirm weight ratings.
- Run Cat6 Ethernet and power cables with a 10% length buffer and label every run.
- Connect each display to the network switch and confirm link lights on both ends.
- Install or activate media players and register each device in your CMS.
- Configure content playlists, schedules, and zone assignments in the CMS.
- Test every screen for content playback, audio sync, and remote reboot function.
- Document the full setup with photos, cable labels, and a network diagram.
- Schedule a 30-day review to check for any hardware or connectivity issues.
The most common mistakes at launch are using consumer TVs to save money, underestimating cable lengths, and skipping network segmentation. All three create recurring problems that cost more to fix than the original savings. For ongoing management, set a monthly reminder to check device status in your CMS dashboard and confirm all screens are running the current content version.
Key takeaways
A successful gym TV network requires commercial hardware, hardwired Ethernet, and a cloud CMS to deliver stable, synchronized content across every zone in your facility.
| Point | Details |
|---|---|
| Use commercial displays only | Consumer TVs rated for 4 to 6 hours daily will fail quickly in a gym running 12 or more hours. |
| Brightness matters | Select displays rated 500 to 700 nits to stay visible under bright gym lighting. |
| Wire every screen | Hardwired Cat6 Ethernet eliminates the black screen errors that shared Wi-Fi causes. |
| Buffer your cable runs | Add a 10% length buffer and 3 feet of slack per termination point to avoid short runs. |
| Choose a cloud CMS | A cloud-based platform lets you manage all screens and schedules from one location. |
What I have learned from gym AV installs
The operators who get this right the first time share one habit: they treat the network as the foundation, not an afterthought. I have seen facilities spend $15,000 on commercial displays and then try to run them on the same Wi-Fi network as 200 member devices. The screens look great for a week, then start dropping out during the 6 a.m. rush. The fix costs more than a proper Cat6 install would have.
The second lesson is that CMS simplicity matters more than feature count. Gym staff are not IT professionals. If updating a class schedule requires more than three clicks, it will not get updated. The best platforms I have worked with put schedule changes and content swaps on the home screen of the dashboard, not buried in a settings menu.
My honest recommendation is to avoid IPTV distribution unless your facility already has a structured cabling plant designed for it. For most single-location gyms, a managed switch, Cat6 to each display, and a cloud CMS covers every use case without the complexity. Add RF only if you are already wired for it. Complexity is the enemy of uptime, and uptime is what your members actually notice.
— Kingdom
How Kingdomsignage simplifies your gym display setup
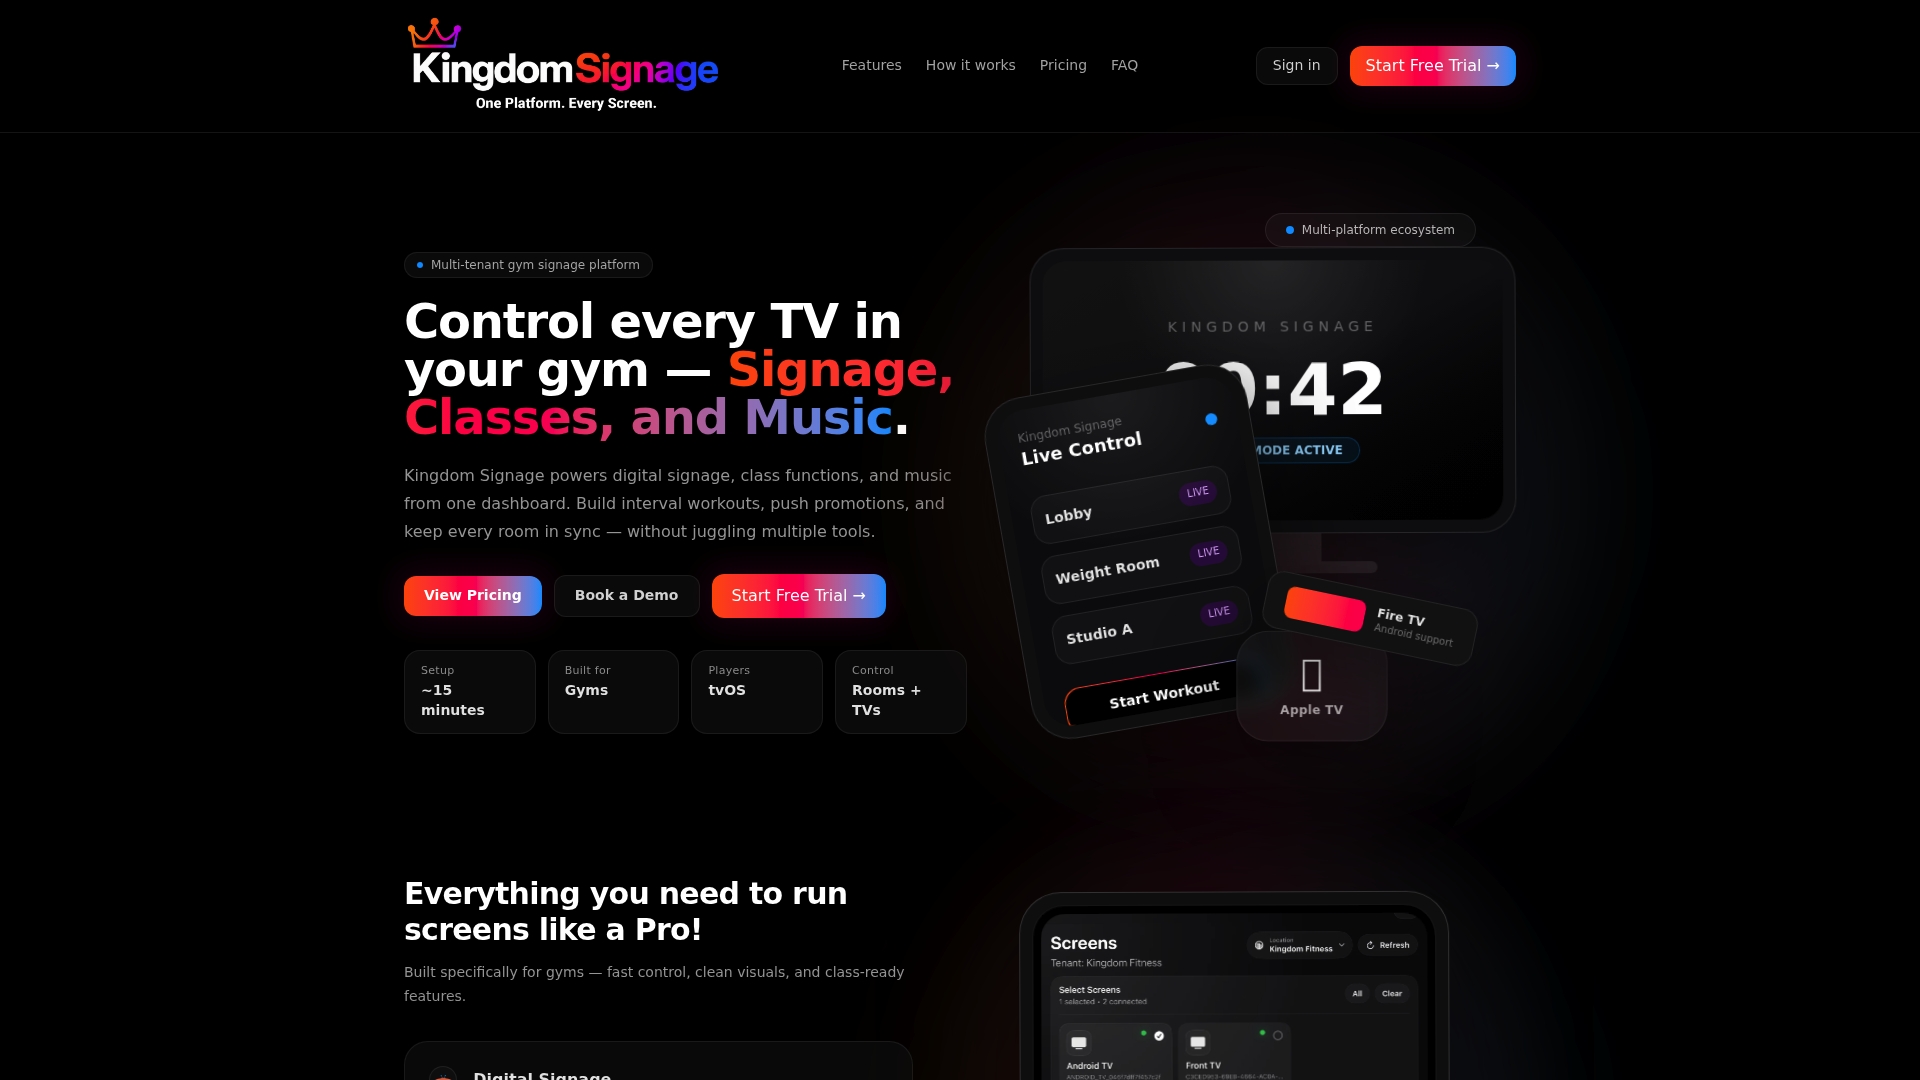
Kingdomsignage is built specifically for gym operators who need to control TVs, class audio, and promotional content from one place. The platform connects to your commercial displays over your existing network and gives you a single dashboard to schedule content, sync audio across rooms, and push real-time updates without touching a single screen. Whether you are managing one studio or ten locations, the gym digital signage platform scales without adding complexity. Gym managers report smoother class transitions and higher member engagement when content is synchronized and updated in real time. If you are ready to move from scattered screens to a coordinated display network, Kingdomsignage is the place to start.
FAQ
What type of TV is best for a gym environment?
Commercial-grade displays rated for 24/7 operation are the correct choice for gyms. Consumer TVs are rated for only 4 to 6 hours of daily use and fail prematurely under gym operating hours.
How do I connect gym TVs to a network reliably?
Run Cat6 Ethernet from a managed switch to each display location and place all screens on a dedicated VLAN separate from member Wi-Fi. Shared wireless connections cause playback dropouts during peak usage hours.
What is a CMS and do I need one for gym TVs?
A content management system (CMS) is software that controls what plays on each screen and when. A cloud-based CMS lets you schedule, update, and monitor all gym displays remotely from one dashboard.
How long does a gym TV network installation take?
A pre-planned gym display installation can be completed in one business day for most facilities. Pre-planning hardware, cable routes, and mount locations before the install date is what makes that timeline achievable.
Should I use Wi-Fi or Ethernet for gym digital signage?
Ethernet is the correct choice. Shared gym Wi-Fi is the leading cause of black screen errors on digital signage because member devices compete for bandwidth during busy periods.