
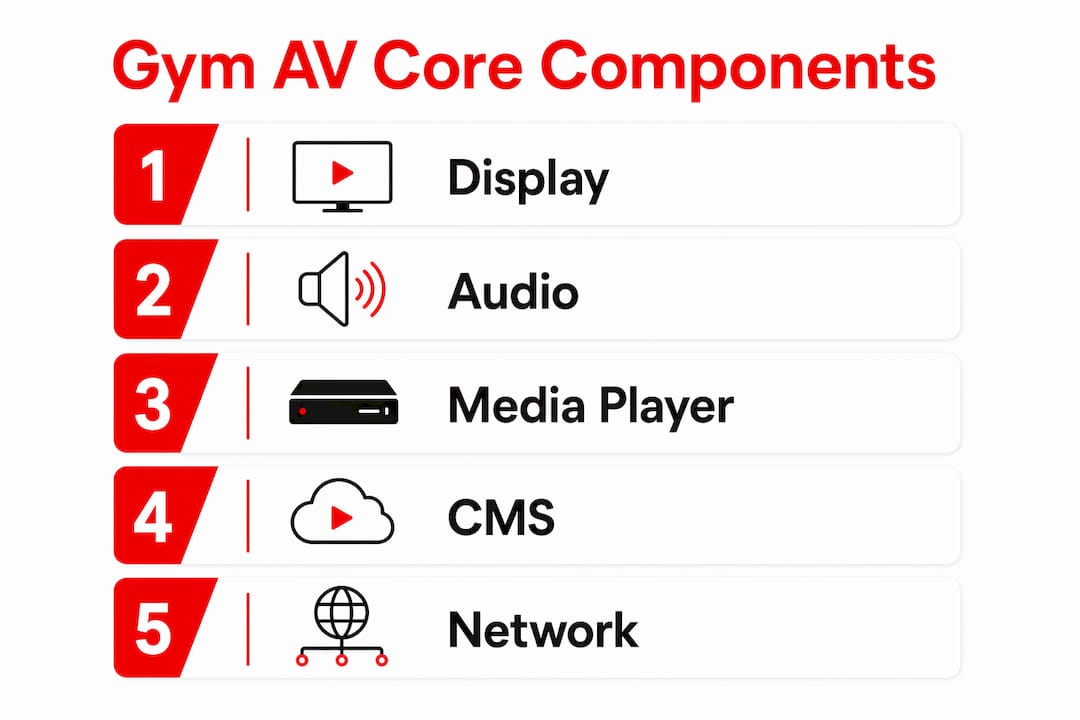
A DIY gym AV setup is an integrated system of display screens, audio equipment, media players, a content management system (CMS), and a stable network connection assembled specifically for a workout environment. The industry term for this type of installation is an audio-visual integration, and understanding each component's role is what separates a functional gym from a frustrating one. A well-built setup keeps coaching cues audible, motivation high, and content running without interruption. Whether you are outfitting a garage gym or a small commercial space, the right combination of home gym AV equipment determines how immersive and effective every session becomes.
What are the essential components of a DIY gym AV setup?
A standard gym AV setup requires four core components: display screens in the 43 to 55 inch range, a dedicated media player or streaming stick, a cloud-based CMS, and a wired network. Each element plays a distinct role, and cutting corners on any one of them creates a weak link that affects the entire experience.
Display screens are the visual anchor of your setup. A 43 to 55 inch screen covers most gym spaces without overwhelming the room. Brightness matters more than most people expect. Consumer TVs typically output 250 to 350 nits, which washes out under gym lighting. Commercial displays rated for 24/7 use output 500 to 700 nits, resist burn-in, and can be mounted in portrait mode for vertical content. If your gym runs content for more than eight hours a day, commercial-grade is the smarter long-term investment.
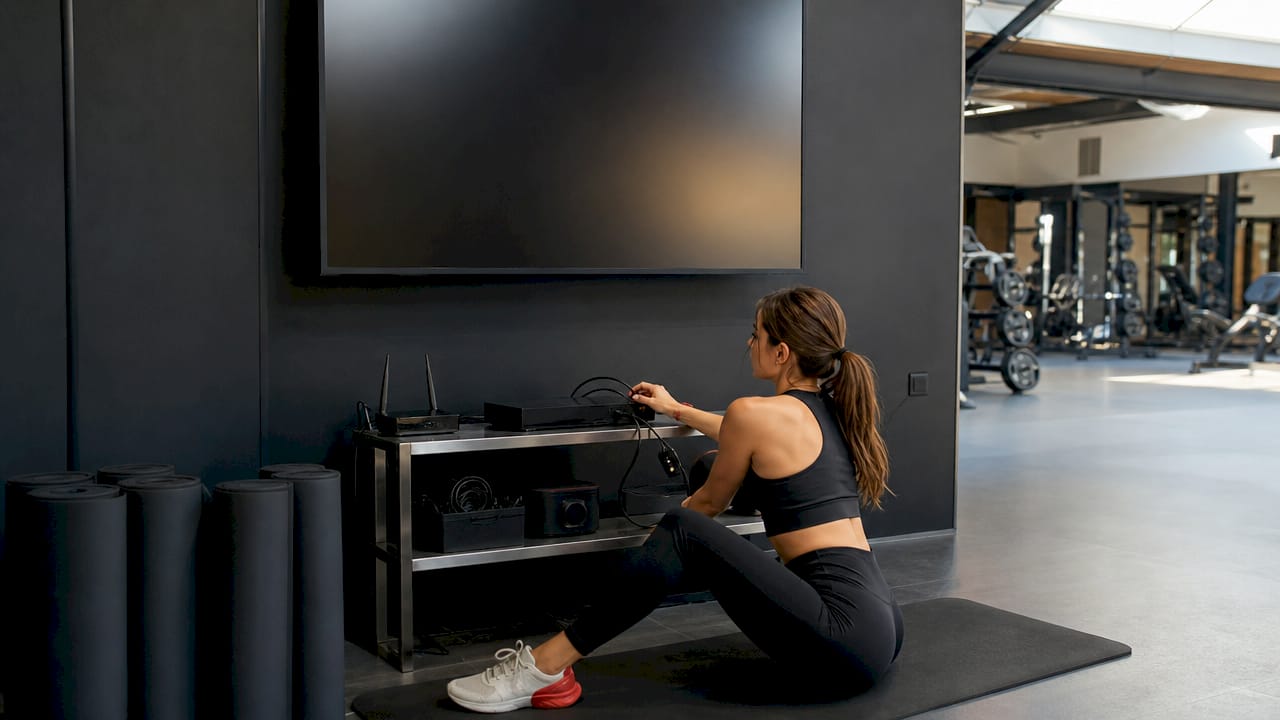
Audio systems deserve more attention than most DIY builders give them. Audio clarity is more critical than video because a missed verbal coaching cue causes immediate form and rhythm drift. A soundbar with voice enhancement or a calibrated center speaker cuts through ambient gym noise far better than a standard stereo pair. Brands like Sonos and Yamaha offer soundbars with dedicated dialogue modes that work well in reverberant spaces. For larger rooms, a subwoofer adds the low-end punch that keeps energy levels up during high-intensity intervals.
Media players handle content delivery. Dedicated streaming sticks like Roku or Amazon Fire TV work for basic setups. Mini PCs and system-on-chip (SoC) commercial displays handle more demanding content and CMS integrations without lag. Integrated SoC displays reduce cable clutter but limit upgrade flexibility.
Content management software is what separates a smart gym AV setup from a pile of hardware. Automation via cloud-based CMS syncing with programming software is the gold standard for reducing manual updates. Platforms that schedule content by class type, time of day, or zone let you run a consistent experience without touching a device.
- Display: 43 to 55 inch, 500+ nits for commercial use
- Audio: Soundbar with voice enhancement or center speaker plus subwoofer
- Media player: Roku, Amazon Fire TV, or mini PC depending on CMS needs
- CMS: Cloud-based with automation and remote management
- Network: Wired Cat6 Ethernet for primary connections
Pro Tip: Always buy one size larger than you think you need for displays. At standing workout distance, a 43-inch screen reads smaller than expected, especially when members are moving.
How to plan and install your gym AV setup for best results
Most gyms complete the full AV installation within a single day when the layout is planned before any hardware is purchased. The layout decision is more consequential than the technical configuration. Get the placement wrong and no amount of quality equipment fixes the experience.
Follow this sequence for a clean, functional installation:
-
Map your space first. Walk the room during a simulated workout. Note where your eyes naturally land at standing height. That is where your screen center should sit. Avoid placing screens directly opposite windows or beneath overhead fluorescent fixtures, since both create glare that washes out the image.
-
Choose your mount type. Fixed wall mounts work for permanent installations. Tilting mounts add flexibility for angled ceilings or elevated placements. Full-motion articulating mounts are useful in multi-use rooms where the screen needs to face different zones. Always anchor into studs or use a rated wall plate. A 55-inch commercial display weighs 40 to 60 pounds and needs a mount rated above that.
-
Run your cables before mounting. Route Cat6 Ethernet and power cables through the wall or along cable raceways before the screen goes up. Exposed cables in a gym are a safety hazard and look unprofessional. Hardwired Cat6 Ethernet is the non-negotiable standard for network backhaul. Shared Wi-Fi under heavy gym traffic causes black screen errors at the worst possible moments.
-
Position audio devices for voice clarity. Place soundbars at ear level when possible, not above or below the screen. In larger rooms, ceiling speakers in a distributed audio layout provide more even coverage than a single soundbar. The goal is consistent volume across the entire floor, not a hot spot near the speaker. Sound's role in workout energy and performance is well-documented, and poor placement undermines even premium hardware.
-
Configure your media player and CMS. Connect your streaming device or mini PC, log into your CMS, and set up your content schedule before the first class. Test every zone, every audio level, and every transition. A dry run with no members present catches 90% of issues.
Pro Tip: Label every cable at both ends during installation. In six months, when you need to swap a media player or troubleshoot a signal drop, labeled cables save hours.
DIY gym AV setup options: comparing budget, mid-range, and premium equipment
A basic DIY gym AV setup costs between $1,500 and $2,500, with most installations completed in a single day. That range covers a functional system, but the gap between budget and premium equipment is significant in durability, brightness, and software capability.
| Tier | Display | Audio | Media Player | CMS | Estimated Cost |
|---|---|---|---|---|---|
| Budget | 43-inch consumer TV (250 nits) | Basic soundbar | Roku or Fire TV Stick | Free scheduling app | $1,500 or less |
| Mid-range | 50-inch commercial display (500 nits) | Sonos soundbar with voice mode | Amazon Fire TV Cube or mini PC | Cloud CMS with basic automation | $1,500 to $2,500 |
| Premium | 55-inch commercial display (700 nits) | Yamaha soundbar plus subwoofer | Dedicated SoC or mini PC | Full automation CMS with remote reboot | $2,500 and above |
The most common mistake at the budget tier is choosing a consumer TV for a space that runs content eight or more hours daily. Consumer panels are not rated for continuous operation and degrade faster under those conditions. A mid-range commercial display costs more upfront but lasts significantly longer in a gym context.
Software is where the biggest performance gap appears between tiers. A free scheduling app requires manual updates for every class change. A full automation CMS syncs with your programming calendar, pushes content to multiple zones simultaneously, and lets you manage everything remotely. For gym operators running multiple rooms or classes, that difference translates directly into time saved every week.
A few additional considerations when choosing your tier:
- Portrait vs. landscape mounting: Commercial displays support portrait mode for vertical content like class schedules and motivational graphics. Consumer TVs do not.
- Warranty and support: Commercial displays typically carry three-year warranties versus one year for consumer models.
- Upgrade path: Mid-range hardware with a strong CMS gives you the best flexibility to add screens or audio zones later without replacing the entire system.
What are the best practices and common pitfalls in gym AV setups?
The difference between a gym AV system that runs smoothly for years and one that requires constant attention comes down to a handful of decisions made during planning and installation.
-
Prioritize voice clarity above everything else. Fitness tech integrators consistently recommend soundbars with voice enhancement as the single most impactful audio upgrade. In a room with rubber flooring, metal equipment, and hard walls, sound reflects unpredictably. A voice-optimized soundbar or center speaker cuts through that noise and keeps coaching cues intelligible.
-
Never rely on shared Wi-Fi. This is the most common cause of black screen errors in gym environments. Dedicated mesh Wi-Fi nodes or wired Cat6 Ethernet eliminate the traffic congestion that drops connections during peak hours. If running cable is not possible, a dedicated Wi-Fi access point for AV devices only is the next best option.
-
Use a CMS with remote reboot capability. Remote reboot in CMS hardware saves hours of troubleshooting downtime. When a display freezes mid-class, the ability to restart it from a phone rather than climbing a ladder or calling a technician is not a luxury. It is a practical necessity for any gym running regular programming.
-
Keep the visual environment calm. Flashing graphics, rapid transitions, and high-contrast animations are distracting during workouts that require focus. Content should motivate without competing with the instructor or the exercise itself. Gym screen content performance data shows that steady, well-paced visuals outperform high-stimulation content for member retention.
"The best gym AV setup is the one members stop noticing because it works perfectly every time."
Consistency matters more than complexity. A simple setup that runs reliably every class builds member trust and instructor confidence. Overbuilt systems with too many components and no centralized management create more problems than they solve.
Key takeaways
A DIY gym AV setup works best when display placement, audio clarity, and network stability are treated as equal priorities from the start.
| Point | Details |
|---|---|
| Start with four core components | Every functional gym AV system needs a display, media player, CMS, and wired network. |
| Prioritize audio over video | Voice-enhanced soundbars prevent coaching cues from getting lost in gym noise. |
| Use wired Ethernet, not Wi-Fi | Cat6 Ethernet eliminates the black screen errors that shared Wi-Fi causes under load. |
| Budget $1,500 to $2,500 for a solid build | Most complete installations finish in one day with proper layout planning. |
| Choose CMS with remote reboot | Remote management reduces downtime and eliminates the need for on-site troubleshooting. |
What I've learned from watching gym AV setups succeed and fail
After working closely with gym operators across a range of spaces, from single-room garage gyms to multi-zone fitness studios, the pattern is consistent. The setups that fail are not the ones with the cheapest hardware. They are the ones where the network was an afterthought and the CMS was chosen last.
The operators who get it right spend the most time on two things: speaker placement and software selection. They accept a smaller screen to afford a better soundbar. They choose a cloud CMS with automation before they buy a second display. That sequencing matters because audio problems are felt immediately during class, while a second screen is a nice-to-have.
I have also seen the gradual upgrade approach work extremely well. Start with one quality display, one voice-enhanced soundbar, and a solid CMS. Get the network right from day one with wired Ethernet. Then add screens and audio zones as the budget allows. This approach keeps the system manageable and lets you learn what your specific space actually needs before committing to a full build.
The one thing I would tell every DIY gym builder: do not underestimate how much a reliable gym digital signage setup changes the daily experience for both members and instructors. It is not about having the most screens. It is about having the right content, in the right place, running without interruption.
— Kingdom
How Kingdomsignage simplifies your gym AV setup
Managing displays, audio zones, and class content across multiple screens is where most DIY gym AV setups hit their ceiling. Kingdomsignage solves that problem with a cloud-based CMS built specifically for gym environments, giving you unified control over every screen and audio zone from a single dashboard.
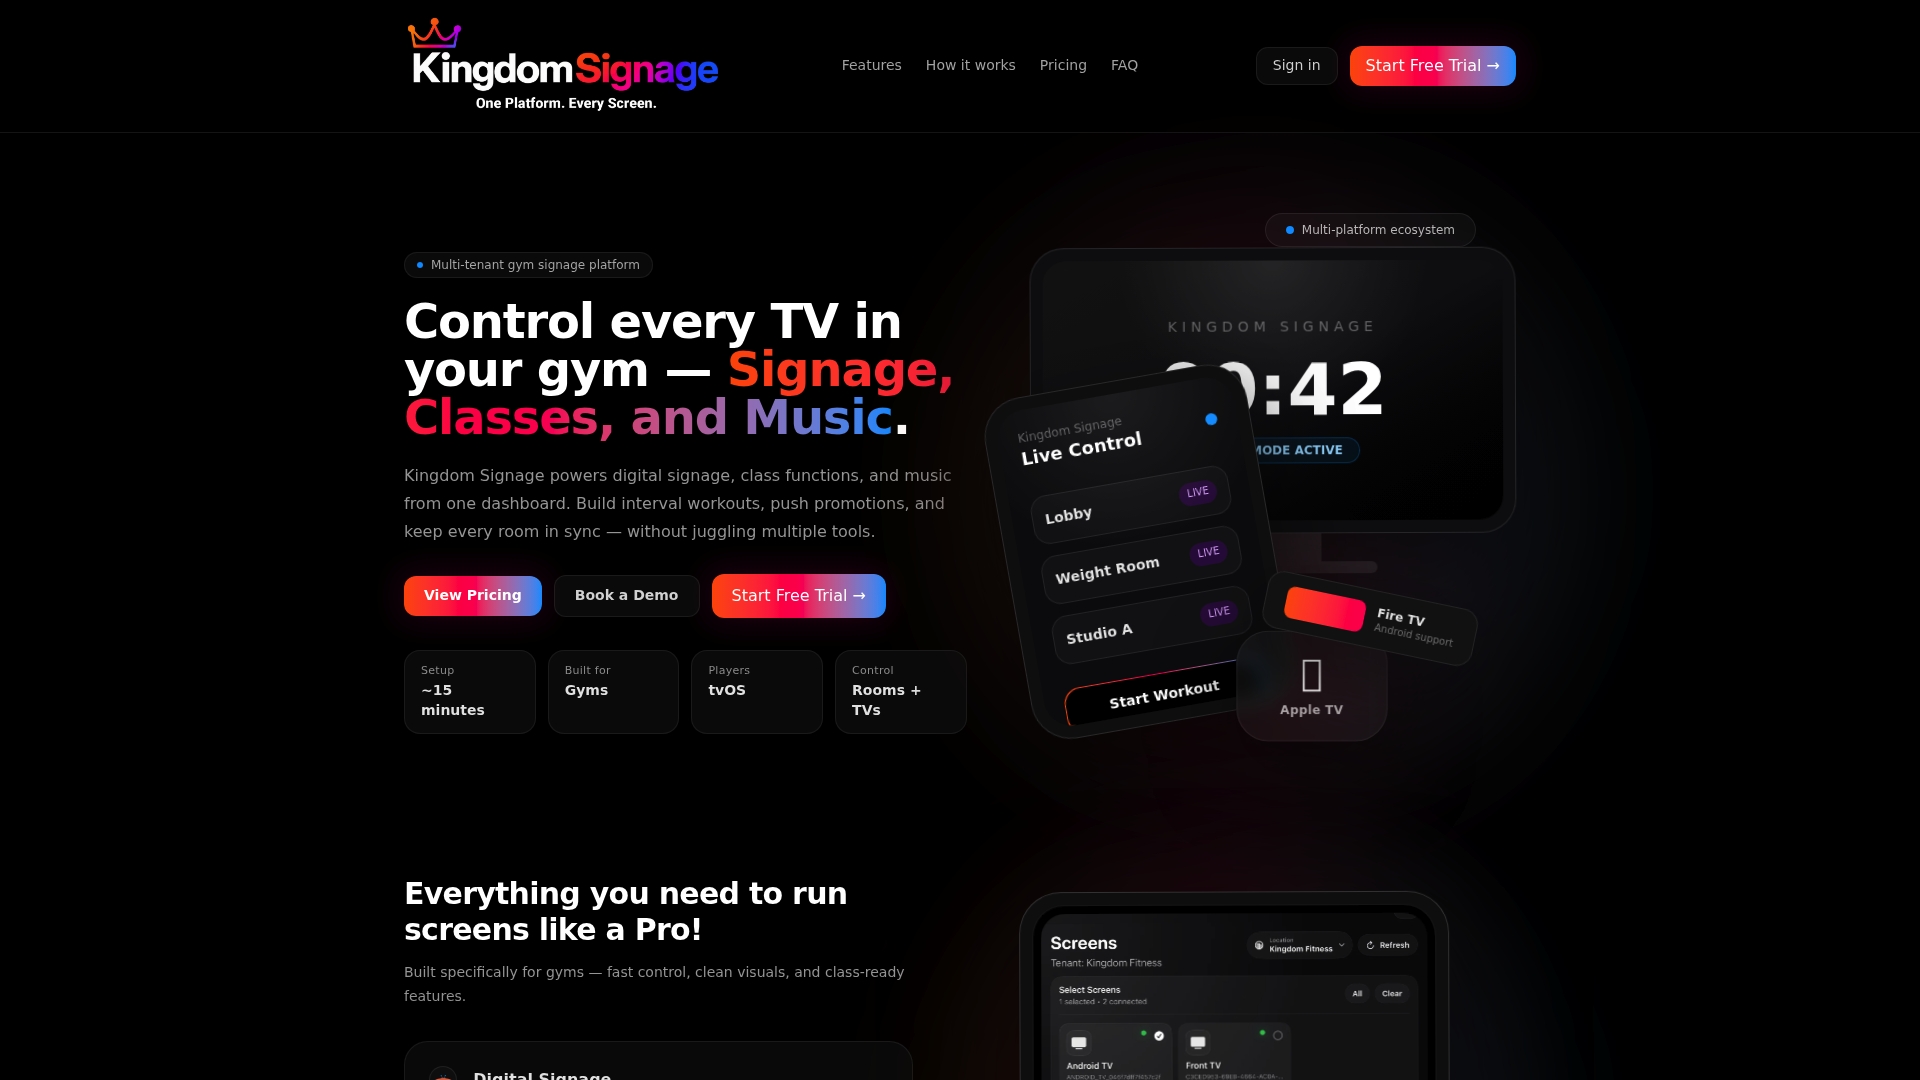
With Kingdomsignage, you can automate content scheduling by class type, push real-time updates to every display simultaneously, and reboot devices remotely without stepping foot in the gym. The platform syncs audio and visuals across rooms, handles class transitions, and delivers promotional content without requiring multiple tools. If you are ready to move from a patchwork AV system to one that runs itself, explore Kingdomsignage and see how the platform fits your gym.
FAQ
What does a DIY gym AV setup include?
A DIY gym AV setup includes display screens, an audio system, a media player, a cloud-based CMS, and a wired network connection. These four components work together to deliver consistent, immersive content during workouts.
How much does a home gym AV setup cost?
A basic DIY gym AV setup costs between $1,500 and $2,500, with most installations completed in a single day. Mid-range and premium builds with commercial displays and automation CMS run higher but offer significantly better durability and performance.
What screen size is best for a home gym?
Display screens in the 43 to 55 inch range are recommended for most home gym spaces. At standing workout distance, a 43-inch screen is the practical minimum, and commercial-grade displays with 500 to 700 nits brightness perform better under gym lighting than consumer TVs.
Why is wired Ethernet better than Wi-Fi for gym AV?
Hardwired Cat6 Ethernet eliminates the black screen errors caused by shared Wi-Fi under heavy gym traffic. Dedicated wired connections provide the stability that streaming and digital signage content require during live classes.
What CMS features matter most for a gym AV setup?
The two most critical CMS features for a gym AV setup are automation scheduling and remote reboot capability. Automation reduces manual content updates, and remote reboot lets you resolve display freezes without on-site intervention.